
29 Nov Tips for using Jamboard
What is Jamboard?
Jamboard is a great way to interact with students in a remote atmosphere. Jamboard applies the 5 C’s and allows students to work individually or within a group while the teacher can watch and comment on their work. Teacher and students alike can show their work while creating math problems, math drawings, etc. Jamboard can be used for every subject, not just math.
Jamboard is the perfect tool to use with your students because it supports the 5 Cs of Education, which are communication, critical thinking, creativity, collaboration, and curation. It allows students to brainstorm, research, organize information, and show their work as well as create illustrations, concept maps, timelines, flowcharts, emoji story writing, sketch notes, and digital storytelling components. For math, specifically, students can use virtual manipulatives, show their work with drawings, and use text boxes to write responses. Looking for a Concrete- Representational – Abstract option for virtual learners or learners who can’t share materials? This could be the solution for you.
Why Jamboard is a fantastic tool during remote/distance learning
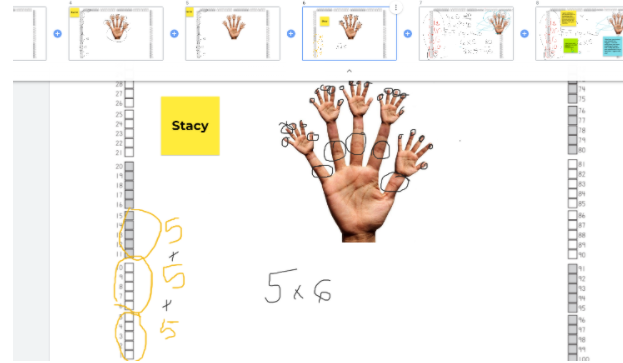
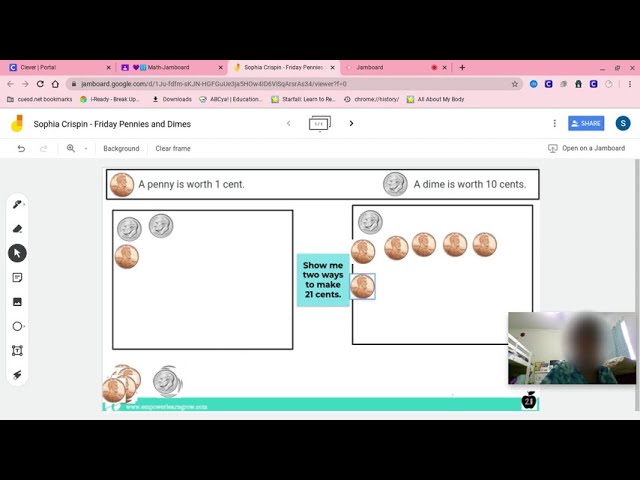
- See student work in real-time. I need to WATCH students solve problems in real-time. I want to see their work, their process, etc. It is in the moment of seeing these that I’m able to offer timely and relevant feedback. Jamboard lets me do this. I use one jamboard file, duplicate the same page as many times as I have students in a group, and then share the link with students (via chat, schoology, seesaw, google classroom, etc.). Students join the jamboard during class. When it’s their turn to solve, they click on the open jamboard file and go! Here is the teacher’s view of students as they worked, drew, and model thinking that we could later discuss in the lesson.
Here is an example of the teacher’s view of students all working at the same time.
- Student collaboration. Students collaborating is more important than ever now that a screen separates us from socializing as we typically have. Getting students to interact and engage with each other is made possible via jamboard. By assigning groups to shared jamboard pages, students are able to work together to solve problems, share thinking, etc.
Here is an example of students working to collaboratively solve a problem.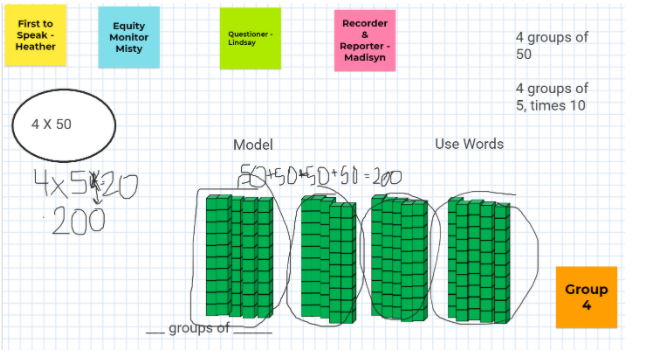
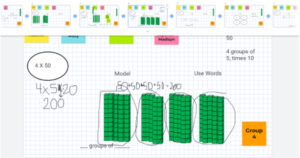
Here is the teachers view, where I could watch as all students drew and built at the same time even though they were in individual break-out rooms. This allows me to easily see when students aren’t working or which rooms to go into first to ask questions, clarify the task, etc.
Tips for using Jamboard
Less is Best!
The less amount of pages you have per jamboard, the better off you are. You can have up to twenty pages, but it can get slower if you have all twenty pages being utilized. Therefore, you can use the group function so that you have two or three files for the groups to use while working with the students.
If your jamboard won’t load, try clicking refresh. This will restart everything for you.
Ensure that your students do not have any other windows open when working with jamboard. They simply need to have zoom or the conference method choice and the jamboard up. Having other windows open will slow jamboard down.
Have fewer touchpoints.
This makes it easier for you as well as your students; just teach and train your students how to use it.
You can teach your students to duplicate your pre-made manipulatives.
This will speed up the process as well as assist students in solving their problems.
The key to everything is training your students.
If you are able to teach in person, that is great, but try to have a Technology Tuesday where you can help train students how to use jamboard in case you have to go to remote teaching. If you are already teaching remote, be patient, and continue training your students through the use of screenshots. My first-grade teacher friends at CUSD (Corning Unified School District) put together this slide deck to help their Chromebook students know each step in navigating away from zoom, to the link in google classroom. You’d just insert the jamboard link instead of a google slide link.
Here is their file.
Practice. Practice. Pratice. Practice clicking links. Practice adding names to jamboard pages. Practice moving manipulatives. Practice drawing and using drawing tools.
Want to use it asynchronous with students?
Use Video!
Jamboard pairs great with recording software like Screencastify and Loom video. Screencastify can be used to record a video of yourself explaining the problem being solved as you write everything down on your jamboard. You then save both the screencastify file and the jamboard file for your students to review.
Carmen, second-grade teacher from Corning Unified School District, has trained her students to use screencastify and jamboard to explain their thinking.
— Here is a video from Carmen.
Jamboard and Google Classrooms go hand-in-hand. They are from the same platform, so they link together well. With Google Classrooms, you can share the assignment with your students while attaching the jam file for your students to use.
Other resources:
Want templates and more information on how to use jamboard and google slides to teach math synchronously with students?
Check out my grade level webinars, how to videos, and resources here.
| https://www.empowerlearngrow.com/dle |
Check out New Edtech Classroom’s how to beginner video here

Sorry, the comment form is closed at this time.